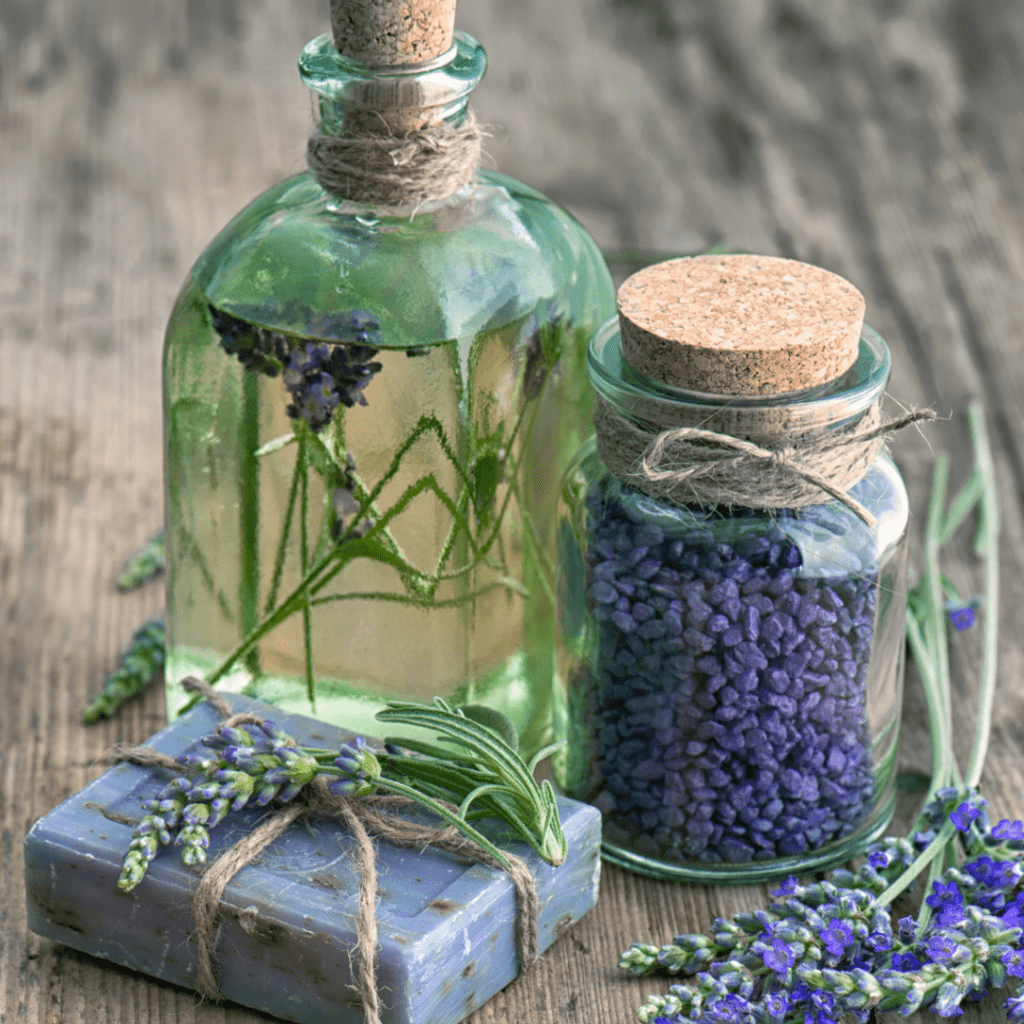
There are several reasons to make an herbal infused oil.
1. The first reason is to create a potent medicinal oil that becomes your base when making salves, soaps and lotions.
2. The second reason is to make a medicinal bath and body oil, that can be used directly on the skin.
3. The third reason is for culinary purposes, to add flavor, spice, and health benefits to food.
When practicing herbalism, herb-infused oils are an important ingredient for topical remedies. They provide a nourishing base, packed full of medicinal components extracted from the plants used.
You must make a herb-infused oil first, in order to make an herbal salve, soap or lotion.
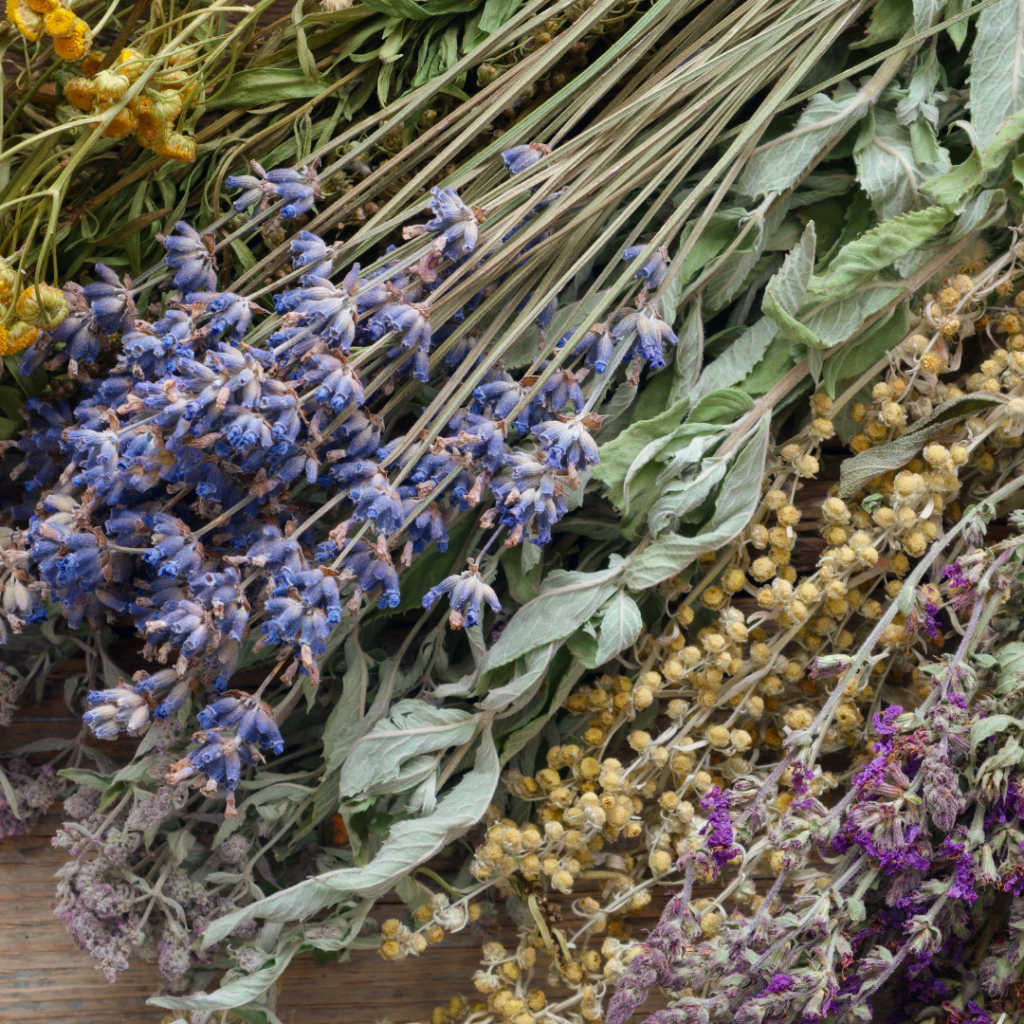
Fresh or Dried Herbs?
While most herbs can be infused either dried or fresh (with proper preparation), most tend to use dried herbs. This is because fresh herbs contain a high water content, which can effect the shelf life of your remedies.
Herbal oils made with fresh herbs can sometimes turn rancid or grow mold, especially if the oil used is not very shelf stable, or the oil has been stored improperly.
However, is believed certain herbs such as ginger, St John’s wort, pokeweed root and turmeric require fresh material to create an effective herbal oil.
If you decide to use fresh herbs in your remedies, avoid issues by storing your oil and remedies in cool dark areas, and using high quality oil as your solvent. These oils won’t have a shelf life quite as long as an oil made with dried herbs.
Infused oils that exhibit any change in color, scent, clarity, or taste should be discarded for safety.
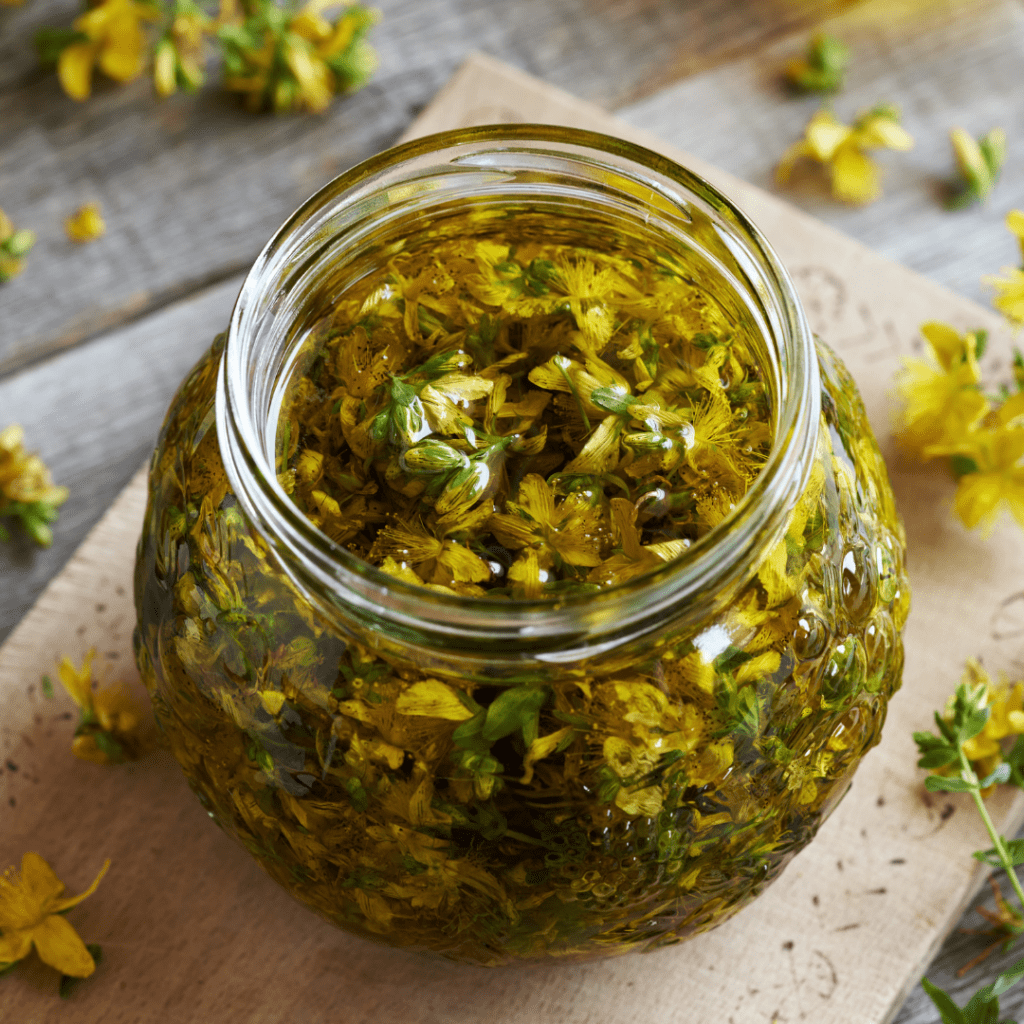
Folk Method
The folk method is the traditional way of making infused oils. It uses nature and the sun to slowly heat the oil over a duration of a few weeks. I personally find this method makes a better quality oil for making remedies.
Ingredients:
~ Herbs of choice (one or several mixed)
~ Quality Organic Oil (olive, sweet almond, avocado, etc.) Carrier oil is recommended.
~ Mason jar (I use a quart Mason jar)
~ Cheesecloth & Mesh Strainer
Step 1. Place herbs in a clean, dry quart jar. Leave at least 1 to 3 inches of open space above your herbs to cover with oil. This for me is usually about 3/4 of the way full.
Keep in mind that certain herbs, roots and barks, have a tendency to swell.
Step 2. Fill jar with oil of choice, making sure to cover herbs by at least 1 inch or more. If the herbs emerge above the surface of the oil at any point while infusing, pour more oil on top to ensure the herbs remain covered.
Sometimes I will add herbs and wait a few minutes and then top it off with a little more oil.
Remember, you can add as many or as little amount of herbs to the jar as desired, but the more herbs, the stronger the infusion will be.
The amount of herbs used will also depend on the size of the jar, as you want to leave at least a couple inches of space for oil coverage or any swelling that may occur as the herbs soak up oil. They have to stay completely wet and submerged.
Step 3. Cap the jar tightly and shake well. Place jar in a sunny, warm windowsill and shake once or more per day.
Although rumor has it your infusing process should avoid sunlight, world renowned herbalist Rosemary Gladstar believes using the sun to infuse herbal oil is a very old folk practice that has worked for our ancestors for centuries. Not to mention she is a healthy young 74 year old, so it seems to be working for her as well!
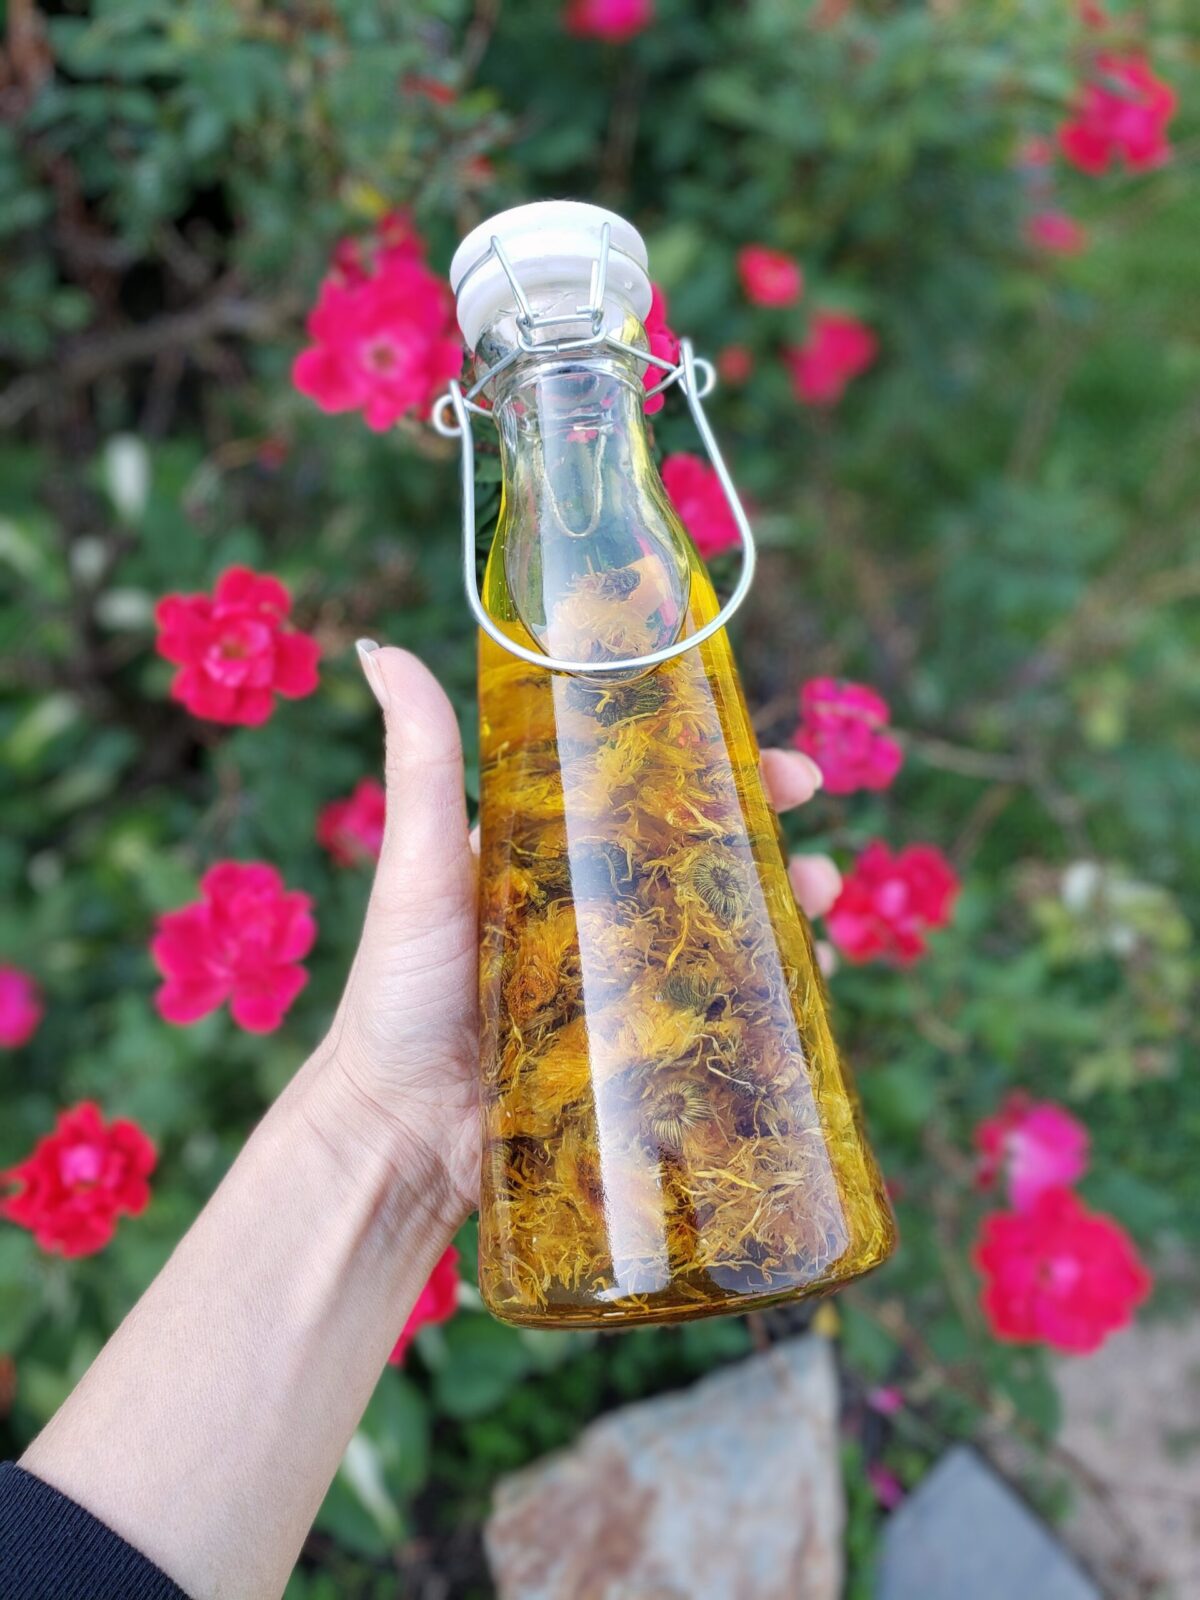
Doesn’t the sun destroy the medicinal properties?
No! Unlike drying your herbs in the sun which is not recommended for that reason, during solar infusing, the oil protects the herbs. Instead of the medicinal properties being lost into thin air, they are being extracted into the oil. The sun slowly warms our oil naturally, creating a powerful solar infusion.
Step 4. After your herbs have infused in oil for 2 to 4 weeks, strain the herbs out using a cheesecloth and a mesh strainer. Make sure to squeeze out as much of the precious oil as possible. Pour into clean glass bottles. Label your jars with the date, type of oil, and herbs used.
Store in a cool, dark place. The oil may keep for up to a year. Vitamin E oil at a concentration of up to 1% can be added to prolong shelf life for oils that will be used topically.
At this point, proceed with using this oil as is or in any remedy you desire!
Quick Method
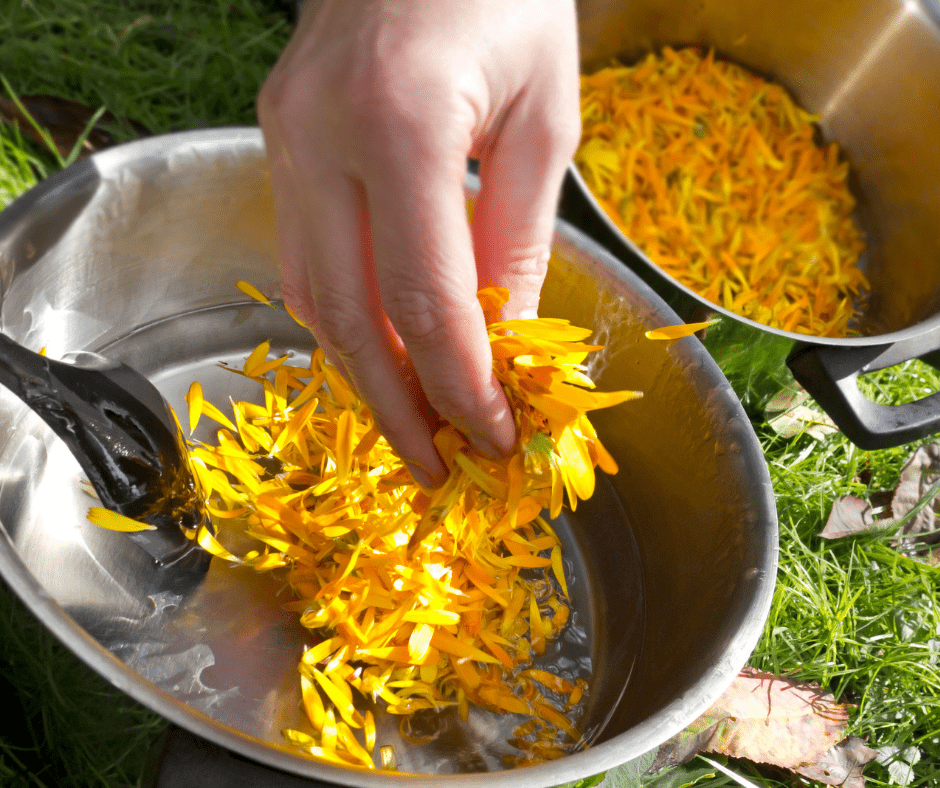
The quick method is the same concept only we are using the stove rather than the sun. For this method it’s best to obtain a double boiler. This is a smart purchase if you are starting a journey into herbalism.
Double boilers are two pots that use steam as a heat source to melt or cook food. This allows you to slowly heat remedies, controlling the heat better than a traditional pot.
Supplies
~ Herbs of choice (one or several)
~ Quality Organic Carrier Oil (olive, sweet almond, avocado, etc.)
~ Double boiler
~ Cheesecloth / Mesh Strainer
~ Lazer thermometer (Amazon carries several)
~ Clean Glass Jars
Step 1. Add your desired amount of herbs to your double boiler. Cover the herbs with oil at least an inch above. There is no exact measurements so use your best judgment. Make sure the herbs are covered completely and there is enough oil for you to gently stir the mix.
Step 2. Heat your double boiler on low, keeping the temperature range between 110° F and 130° F. This is where a laser thermometer is handy.
Anything over a 130° F, will potentially kill the medicinal properties in the herbs and oil, and render it useless. When remedies are made using raw honey, anything over a 110° will destroy the medicinal properties.
If you want your remedies to be potent, make sure to stay within these temperature guidelines.
Heat herbs anywhere from 3 -5 hours. Some choose a 72 hour duration at 100° F. This can be done in a double boiler or a crockpot.
I personally heat for about three hours and then remove from the heat, cover and allow my pot to sit overnight. This just intensifies the infusing process
Step 3. Once the infusion process is finished, strain your herbs using the cheesecloth and strainer. Again, be sure to label your bottles with the date and contents before storing them. Store in a cool, dark, dry place for up to six months. Vitamin E oil at a concentration of up to 1% may also be added to prolong shelf life for oils that will be used topically.
Now, just as with the solar infusion, your oil is ready to be used as is, or added to your next remedy, soap or lotion!
I use herbal oils in every body product I make. My soaps, salves, chapsticks and even lotions, all contain the medicinal value of plants. I even make Ginger oil to place on my lymph glands to generate flow, as well as use it in my bath.
The creative possibilities with herbal oils are endless!!
If you’re not sure make an herbal salve, visit our blog post for a step-by-step guide!
Culinary Oils
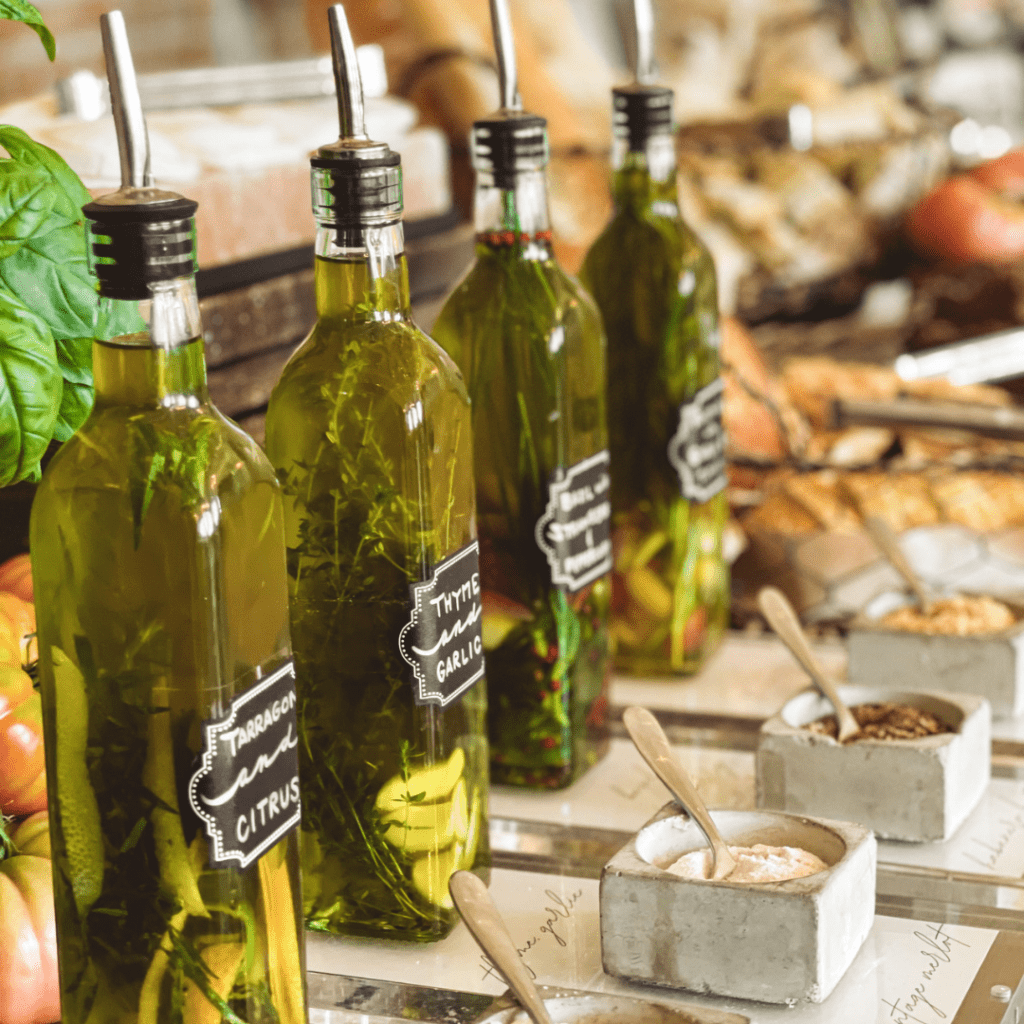
Infusing culinary oils is a great way to add flavor and benefits to your cuisines. Even adding flavorful wild foods such as mugwart, spicebush berries or juniper berries, can be a great addition to any oil.
Culinary oils however are different in the fact that they are usually made with fresh herbs and water filled fruits. This means the shelf life is going to be substantially shorter than our typical herbal infused oils. And because we are consuming this oil, safety precautions also need to be taken.
Fresh ingredients such as kumquats, hot peppers, garlic, lemon, or herb plants such as rosemary, will mean that the infused olive oil can go rancid a lot faster. Fresh herbs and fruits contain a lot of water content that tends to spoil the oil within hours at room temperature. Specific oils will last about 2-3 weeks in the refrigerator before it starts getting cloudy and rancid. Its peak quality will last about 4 days and then begin to lose some of its flavors.
You can use dried ingredients to help prolong the shelf life such as dried garlic, cherries, lemons, jalapenos, etc. Using dry ingredients means that there will not be water extending into the oil and will help prevent bacteria build-up, allowing the flavored olive oil to last longer.
To Make: You will make your culinary oil the same way we did the quick herbal method, using a double boiler. The heat is going to help extract the flavors and volatile oils from the plants, creating a tasty flavorful oil.
On the contrary, you will not heat nearly as long as you would to make a medicinal oil.
Heat your oil for 15-20 minutes, until the oil becomes fragrant with your herbs. Strain your herbs out using a cheesecloth and strainer, and place your oil in a clean sterilized jar.
Culinary oil should be placed in the refrigerator immediately after making, especially if it contains garlic. Your oil should last 1 to 4 weeks in the refrigerator, depending the herbs used.
Do not consume any oil that shows signs of mold. If the color and appearance changes drastically, do not consume. Always use your best judgment, but when in question, throw the oil away.
Safety Considerations
Herbal medicine is still medicine, and although herbal oils are used topically, they still affect our health. Certain medications can interact with topical herbal treatments, therefore, it’s important to speak with your healthcare provider first. If you are pregnant, nursing or have prior health concerns, also speak with a doctor first before starting any herbal therapies. View our disclaimer here
Final Thought
Herbal- infused oils became a game changer in the field of herbal medicine. It allows us to create effective topical treatments using the medicine we trust.
If you’re new to making remedies, you will soon find, herbal oils will become your new best friend.
Stay Wild
Kayce Heister
Kayce is a Clinical Herbalist, Naturopathic Practitioner (HHP), Active Forager, Wild Food Chef and Mother of three. She has spent the last 20 years practicing herbalism and natural health, and spends most of her time educating others on the amazing potential the natural world can offer.