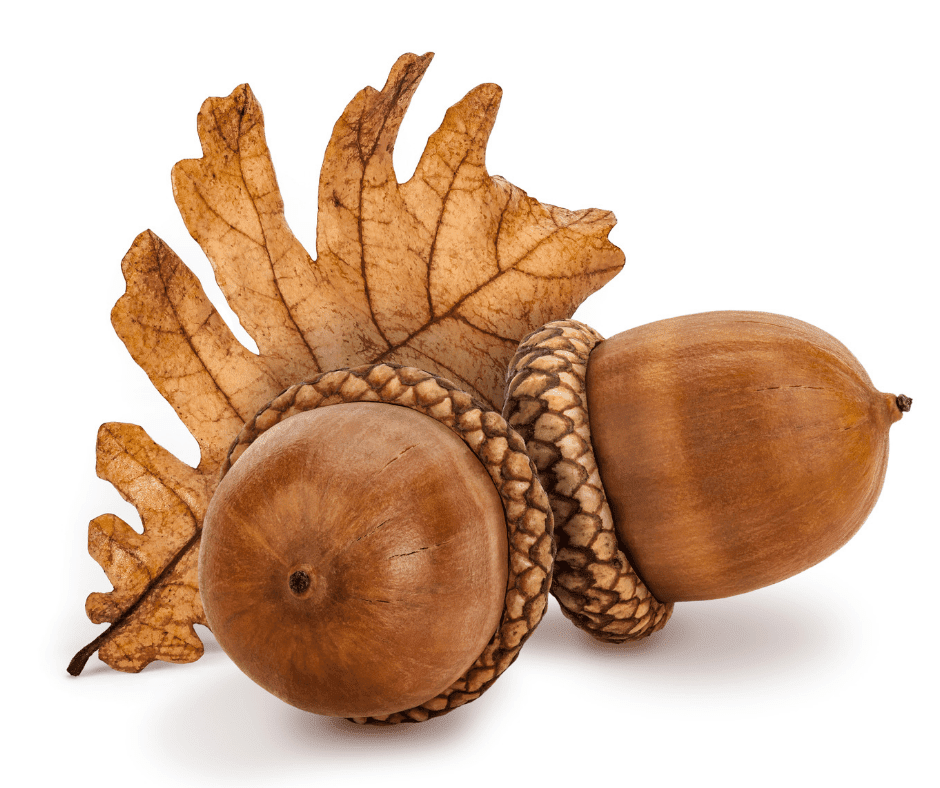
Most of us are familiar with acorns, which are the tiny nuts that fall from oak trees. We all know squirrels love them, but many don’t know, some humans do too!
In pre-contact times, acorns were a preferred food resource for many indigenous tribes because of their availability, productivity, storability, and nutritional content. In California for instance, one anthropologist reported that annual production exceeded subsistence demands, despite the fact that more than three quarters of the entire population relied on acorns for food on a daily basis.
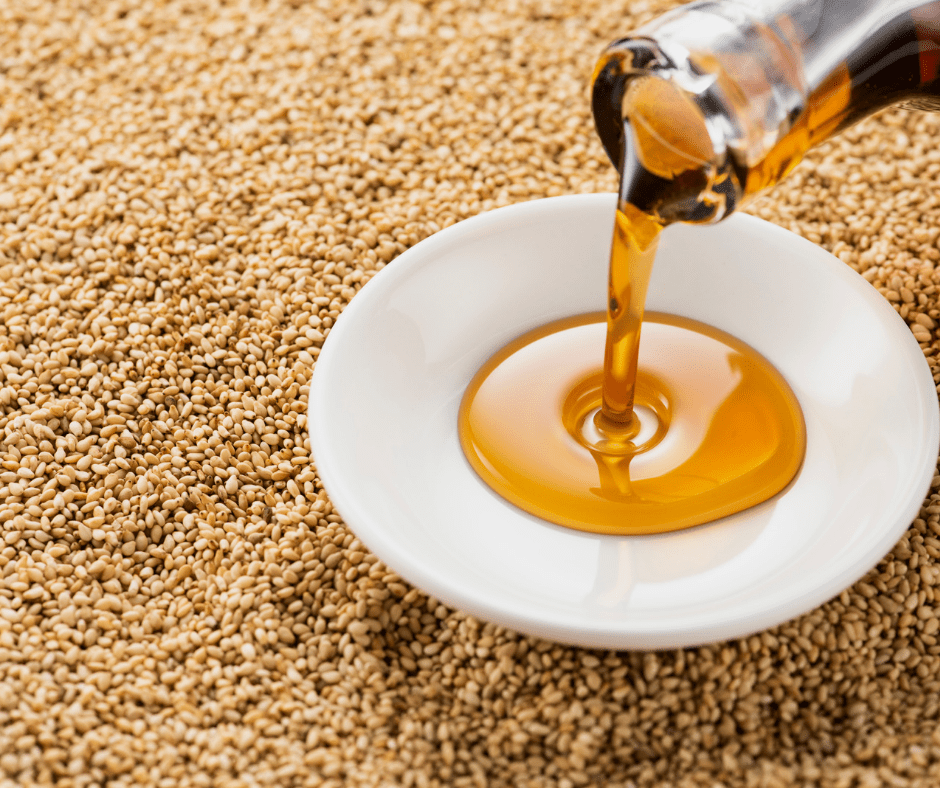
Many tribes used acorns to produce an oil. This was done by crushing and boiling down the acorns. This prized oil was used for cooking, wounds and even burns. Acorns were also used as an herbal remedy to treat stomach pain, bloating, nausea, diarrhea, and other common digestive complaints.
Acorns are high in protein, potassium, magnesium, calcium and vitamin B6. They are naturally gluten-free and loaded with fiber. Acorns however are toxic to humans, dogs, horses and cattle. Being naturally bitter, they must be processed in order to make them palatable. This unpleasant flavor comes from what is called tannins. The tannins act as an astringent which can be harmful to human health and has been known to cause damage to the kidneys.
Tannins are removed through a process called leaching, whereby the acids are drained away from the acorns using water. Afterwards, they are completely safe to consume. Historically indigenous people leached acorns by placing them in netted bags or baskets, then placing them in a stream for a few days to naturally release the tannins.
Today we use the same concept, minus the stream, unless you’re lucky enough to have one!
Are all acorns edible?
Yes all acorn species are edible. The main thing that differentiates them is the level of tannins they contain. Tannins however aren’t the only thing that makes different species of acorn different.
A fatty acorn will make a flour meal, like ground almonds. A carb-rich acorn like Valley Oak acorns, makes a drier flour, more like chestnut or chickpea flour (acorns lack gluten and so will not rise.)
The sweetest acorns, meaning lowest in tannin are from your White oak, Pin oak, Blue oaks, Cork oak Burr oak and the Bellota oak. These are the best acorns to bake with.
The fattiest acorns are the best acorns for making oil. The Eastern red oak, Live oaks, Tan oak and Black oak are excellent for this use.
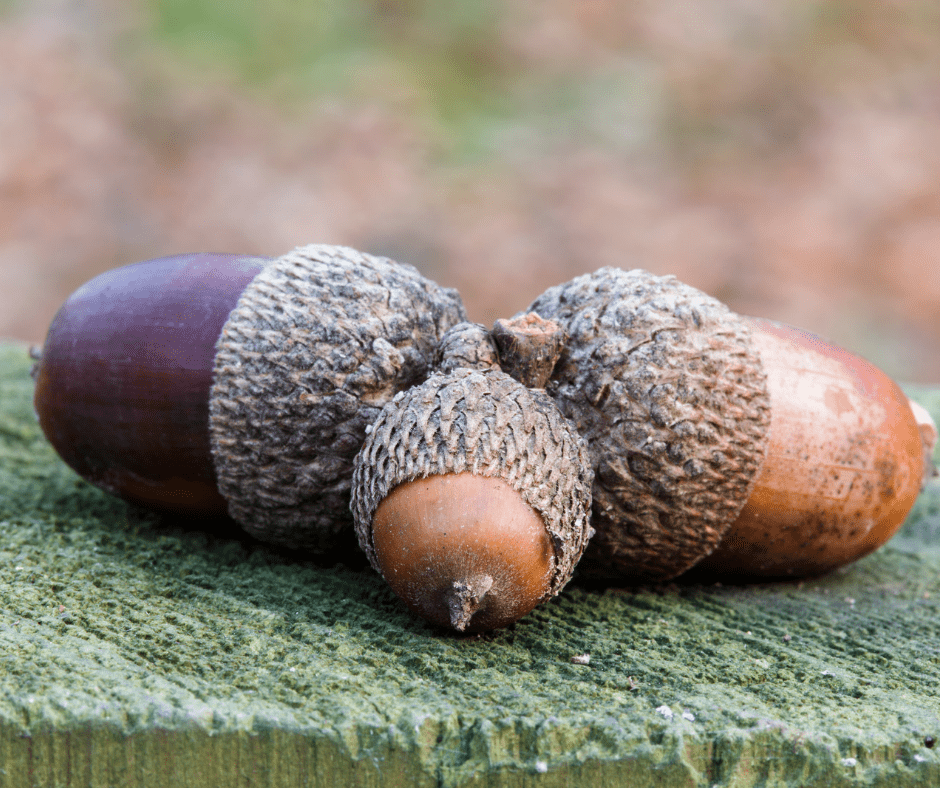
When gathering acorns, look for fully mature acorns, brown in color and still have their caps. Those without caps are more susceptible worms and other insects. If you see that some that have a small hole or several, they have already been infested with insects.
Green acorns are not mature yet and should not be used.

There are two different ways you can leach acorns. The Hot or Cold method. Everything depends on what culinary purpose you want to use them for.
Hot leaching acorns removes the starch, therefore, you must add extra binders to the flour for bake goods so that they don’t fall apart. This is done by boiling the acorns until the tannins are removed, changing the water frequently. It’s basically the same method as cold leaching, just quicker.
Because I only use acorns for baking, I don’t typically hot leach.
Another popular method for leaching acorns is placing a mesh bag of acorns in the back of your toilet tank. Now, I personally am not doing this method for obvious reasons. I know the water is supposed to be clean, but still. Yuck! We will continue with a clean, toilet free method below!
Cold leaching is my favorite method because it is the closest to mimicking nature. In nature, squirrels bury acorns in the ground and leave them there for long periods of time, therefore rain and running water leaches the acorns naturally. This method tries to replicate this process in a controlled environment. Cold leaching also doesn’t destroy the starch or beneficial nutrients we are after.
Removing the shell
The outer shells of acorns are easier removed when they are dry. After you have collected your acorns, allow them to dry for a few weeks by laying them flat on a screen. Make sure this is a ventilated area so that they don’t mold. You can also dehydrate the acorns for 24 hours using a dehydrator set on very low temperature setting, below 150°.
Remove the outer shells by placing the acorns in between in a pillow and hitting them with a hammer. Although this method seems primitive, it seems to be the best way to get the job done.
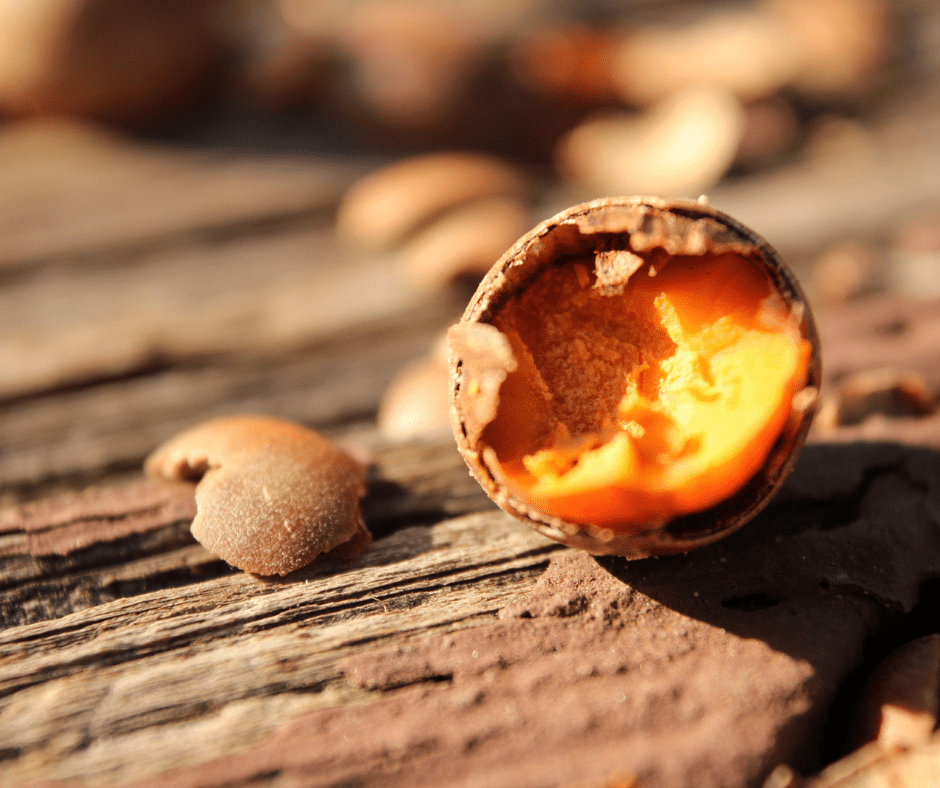
Once they are dry, the shells come off easily. Acorns have a thin, papery skin called a testa, located between the nut meat and the shell. The testas of white acorns adhere to the shells, but the testas of red acorns stick to the nuts. Make sure to remove as much of this brown skin as possible before grinding, as it is quite bitter.
Crush the acorns into small pieces or grind them into a coarse meal, as this makes the process quicker. If you’re patient, you can choose to leave the acorns in larger pieces but the leaching process will take longer.
Add your chopped acorns and some water to a blender and blend to create a pudding texture. If you don’t have a blender, you can stone grind the acorns the old fashioned way or use a corn or grain grinder.
Fill a large Mason jar halfway with coarsely ground acorn meal (or halved acorns) then top it off with water. Use something to poke out any air pockets. Seal the jar and shake well, and put in the refrigerator. The acorn meal will settle on the bottom with time, and the water will turn brown as the tannins leach from the nuts.
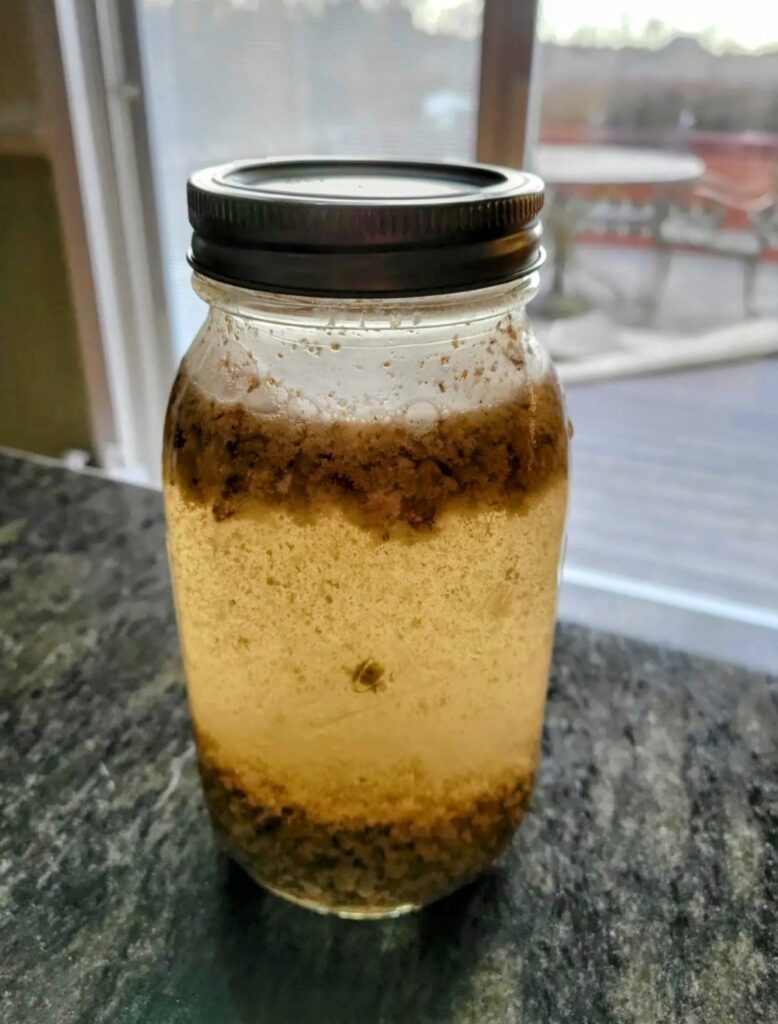
Let the jar sit for 24 hours in the refrigerator, then carefully pour the water off. Don’t worry about getting every last drop. Refill the jar with clean water, and replace the jar in the refrigerator. You will repeat this process daily, if not several times a day. Depending how bitter the acorns were to begin with will depend on the timeframe you will have to continue this process.
Never let a full 24 hours go without changing the water or it will become stagnant and go bad.
Wait at least 4-5 days before tasting your acorn meal. If it’s bitter, continue to change the water every 24 hours until no trace of bitterness remains. Again, if you are using large pieces or whole acorns, this process may take longer.
Once the bitterness has been leached from the acorn meal, pour the meal out using a cheesecloth and strainer. Gather the four corners of the cloth together and twist it closed, then continue to twist until water begins to drip from the bottom. When no more water can be removed by twisting, spread the meal flat on a cookie sheet and place in a warm spot to dry. A well venalated porch works perfect.
If you have a dehydrator with fruit leather sheets, spread the acorn meal across the sheets and set the temperature to the lowest possible setting. You can also use parchment paper. Depending on the humidity where you live, your meal will take between 12 and 24 hours to dry. Check it after several hours and break up any large clumps to speed the drying process. An oven or warming drawer will also work, as long as the temperature is below 150F.
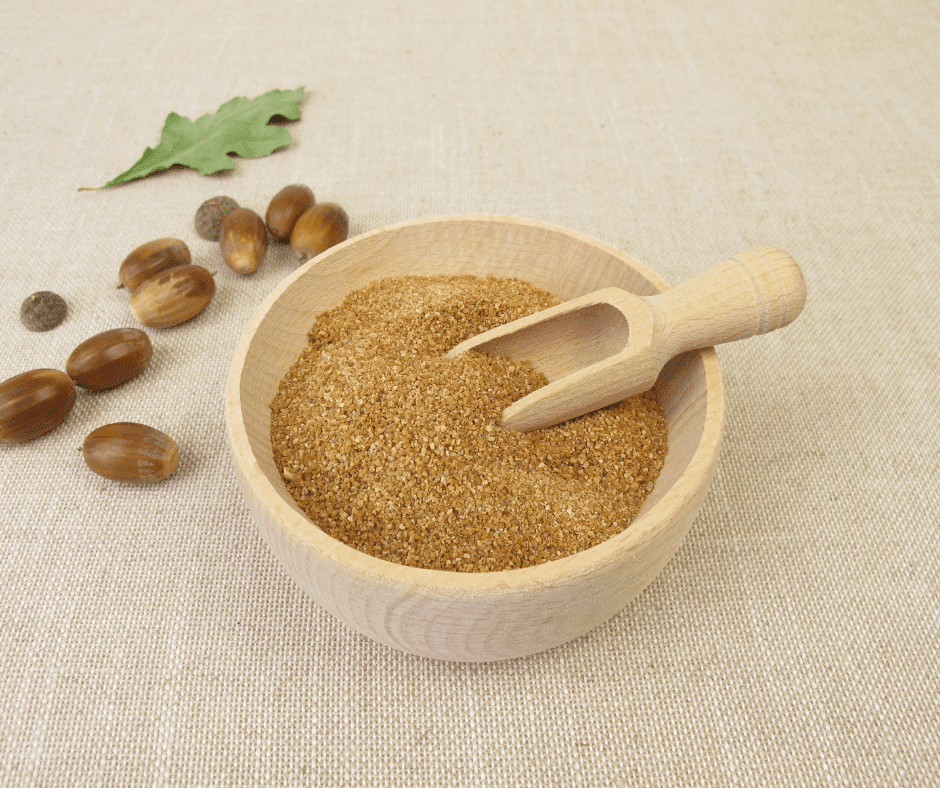
After the meal is dry, you can grind again to produce a fine flour.
Storage
Because I am not a fan of plastic, I store my flour in Mason jars in a cool cabinet. You can however place the flour in vacuum seal bags or seal tightly in ziplocks. Your flour should last about one year.
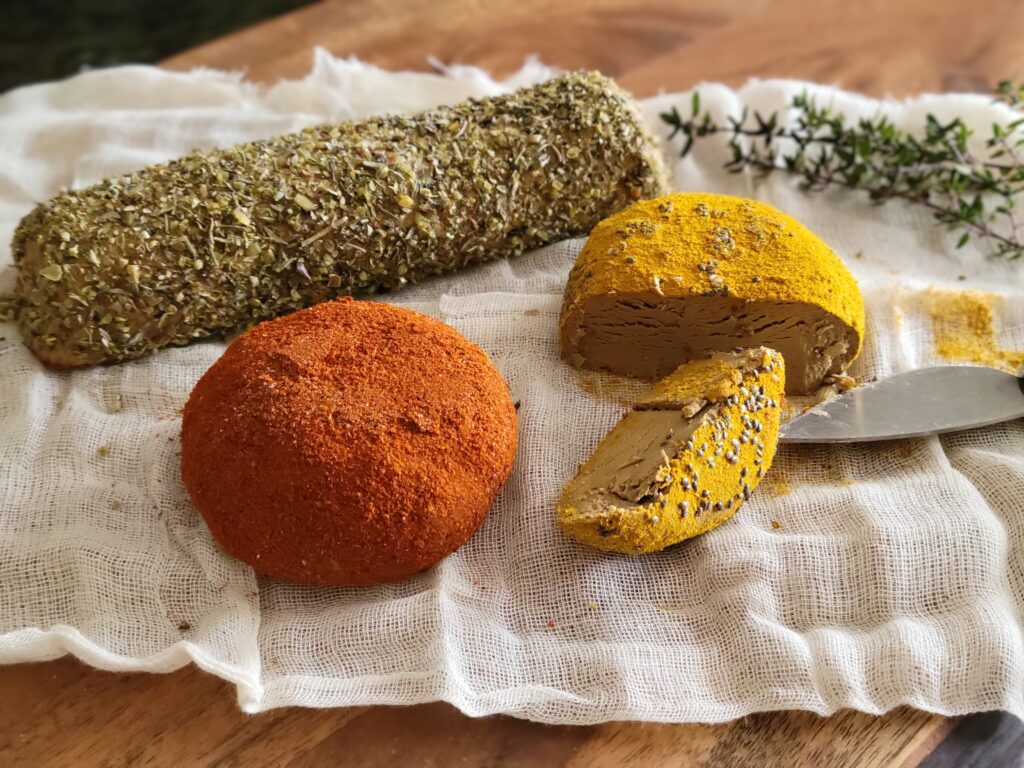
One of my favorite ways to use acorn flour is to make a fermented acorn nut cheese, which is a delicious topping for toast, crostini, bagels and more.
You can also use this flour for making a roux, coating meats or as a flour additive in baked goods, tortillas, and pasta.
Some people may be thinking this seems like a lot of work, and well it is. But foraging wild food is a lifestyle and part of the enjoyment is the humbling nature of it. There is no great reward without a little hard work!
Stay Wild
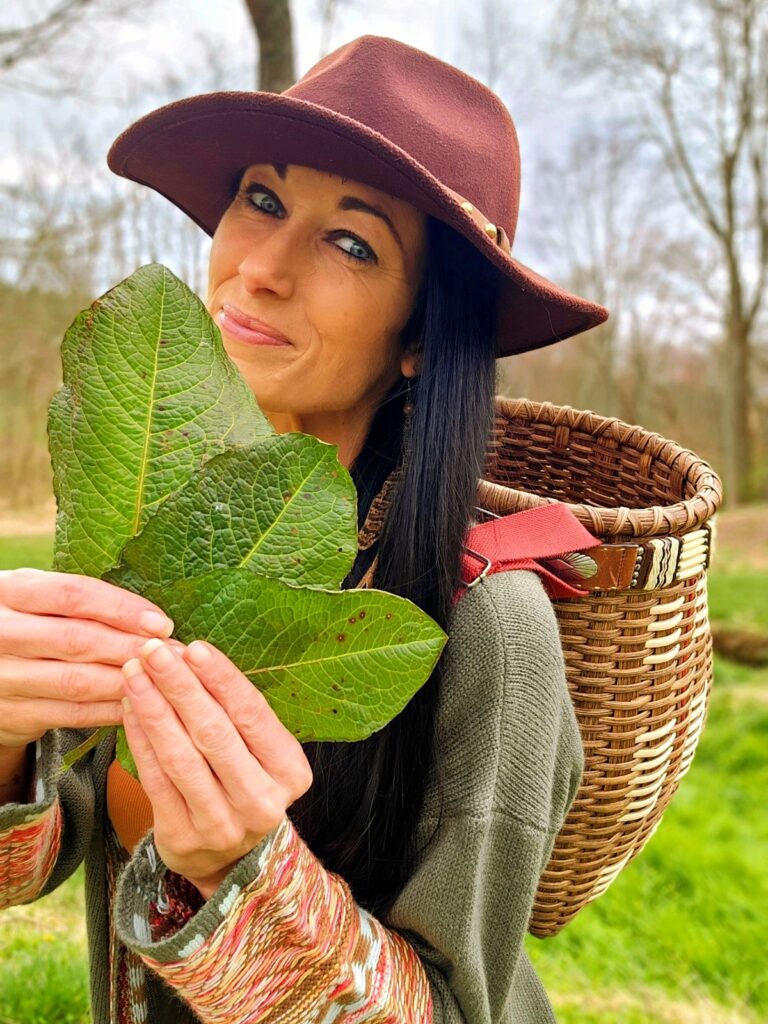
Kayce Heister
Kayce is a Clinical Herbalist, Naturopathic Practitioner (HHP), Active Forager, Wild Food Chef and Mother of three. She has spent the last 20 years practicing herbalism and natural health, and spends most of her time educating others on the amazing potential the natural world can offer.